 | |||||
| A1 |
A2 |
A3 |
A4 | A5 |
A6 |
| B1 | B2 |
B3 | B4 |
B5 | B6 |
| C1 |
C2 |
C3 |
C4 |
C5 |
C6 |
| D1 |
D2 | D3 | D4 |
D5 | D6 |
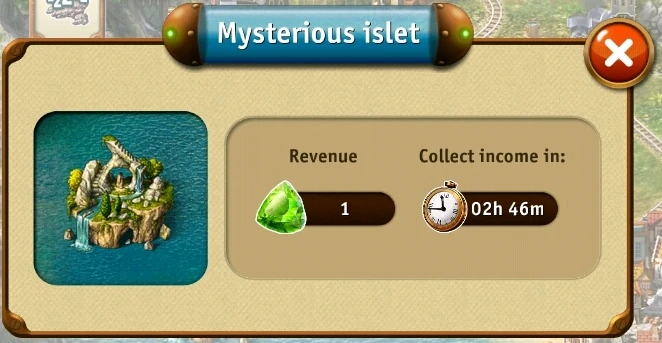
Objects on the map is the term for a collection of Locations scattered throughout Storewell which generate Resources such as Steel ![]() & Crystal
& Crystal ![]() as well as Gold
as well as Gold ![]() , Parts
, Parts ![]() & Experience
& Experience ![]() .
.
Passive Income developments require only Time ![]() between Collection while Resource Exchanges also require Silver
between Collection while Resource Exchanges also require Silver ![]() .
.
Most locations can be Upgraded to increase the amount of Revenue generated, reduce the cool-down period, or otherwise increase their production rates; See respective Articles for more on each.
All active Objects can be Managed individually via the in-game Map or Managed from the Control Center ![]() , if available.
, if available.
The Level indicated below represents the Game Level required to Unlock the Territory where the Object is found:
Passive Income[]
| Location | Level | Revenue | Image |
|---|---|---|---|
Forester's Lodge
|
1 | ||
Lighthouse
|
4 | ||
Barton
|
7 | ||
Smithy
|
11 | 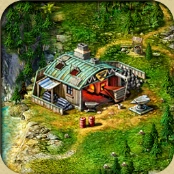
| |
Machine Lab
|
13 | 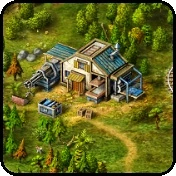
| |
Fisherman's House
|
15 | ||
Granary
|
16 | ||
Dam
|
18 | ||
Rock Garden
|
20 | ||
Colossus
|
21 | ||
Mysterious Islet
|
25 | ||
Foundry
|
27 | ||
Fair
|
35 | 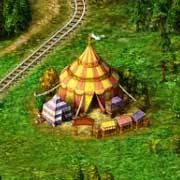
| |
The Sandman
|
38 |
Resource Exchange[]
| Location | Level | Revenue | Image |
|---|---|---|---|
Timber Rafting
|
11 | ||
Watchtower
|
13 | ||
Mill
|
15 | ||
Hunter's House
|
20 | 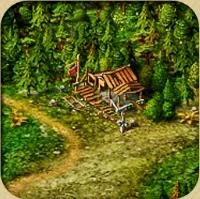
|